Remove Single Tile From Wall
How To Remove And Replace Tiles With Wickes Youtube

How To Remove Ceramic Wall Tile Without Damaging Drywall Home Guides Sf Gate

How To Remove Replace One Bathroom Tile Ceramic Tile Repair Youtube
How To Remove Floor Tiles Without Breaking Them Ideas By Mr Right

Removing A Row Of Existing Tile Where Accent Tile Will Go We Used An Oscillating Tool And P Bathroom Tile Designs Master Bathroom Renovation Amazing Bathrooms

Tips On How To Remove Old Shower Tile Ugly Duckling House
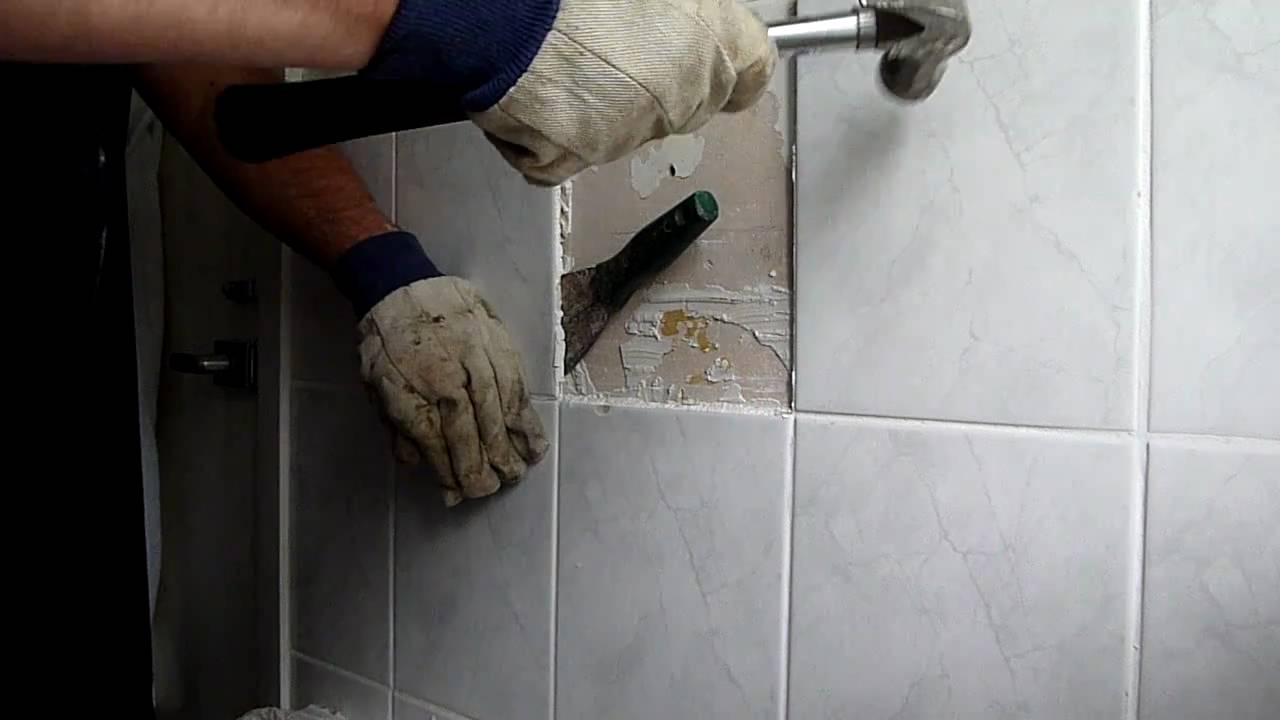
Protect work area with canvas drop cloth 2.
Remove single tile from wall.

How To Remove Wall Tiles 11 Steps With Pictures Wikihow
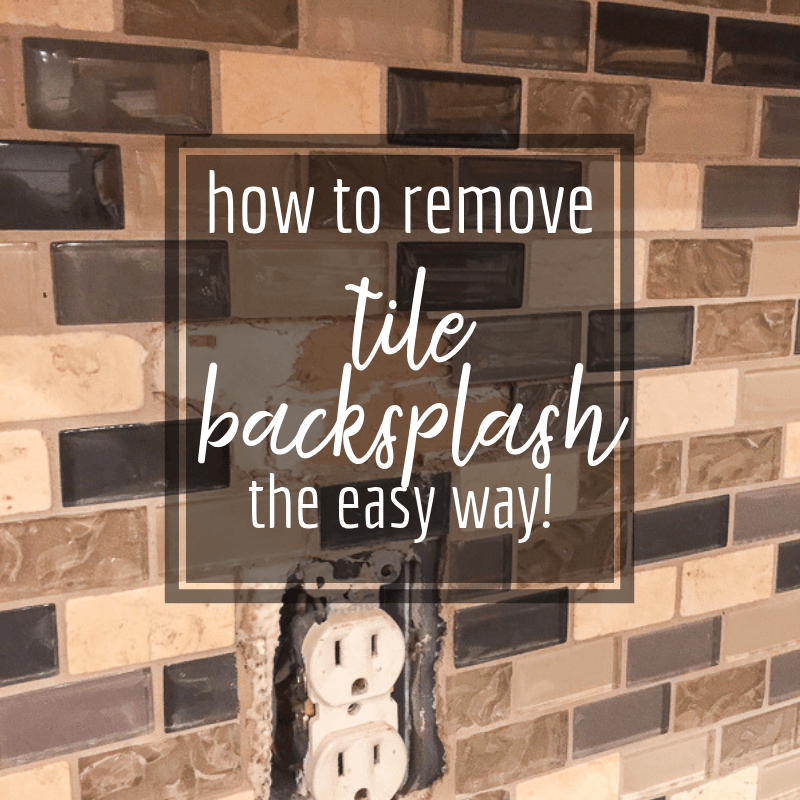
How To Remove Tile Backsplash Like A Pro Twelve On Main

Removing Tile From Bathroom Walls Can Be A Labor Intensive Messy Process And The Work Is Not Over Once Tile Removal Bathroom Wall Tile Removing Bathroom Tile
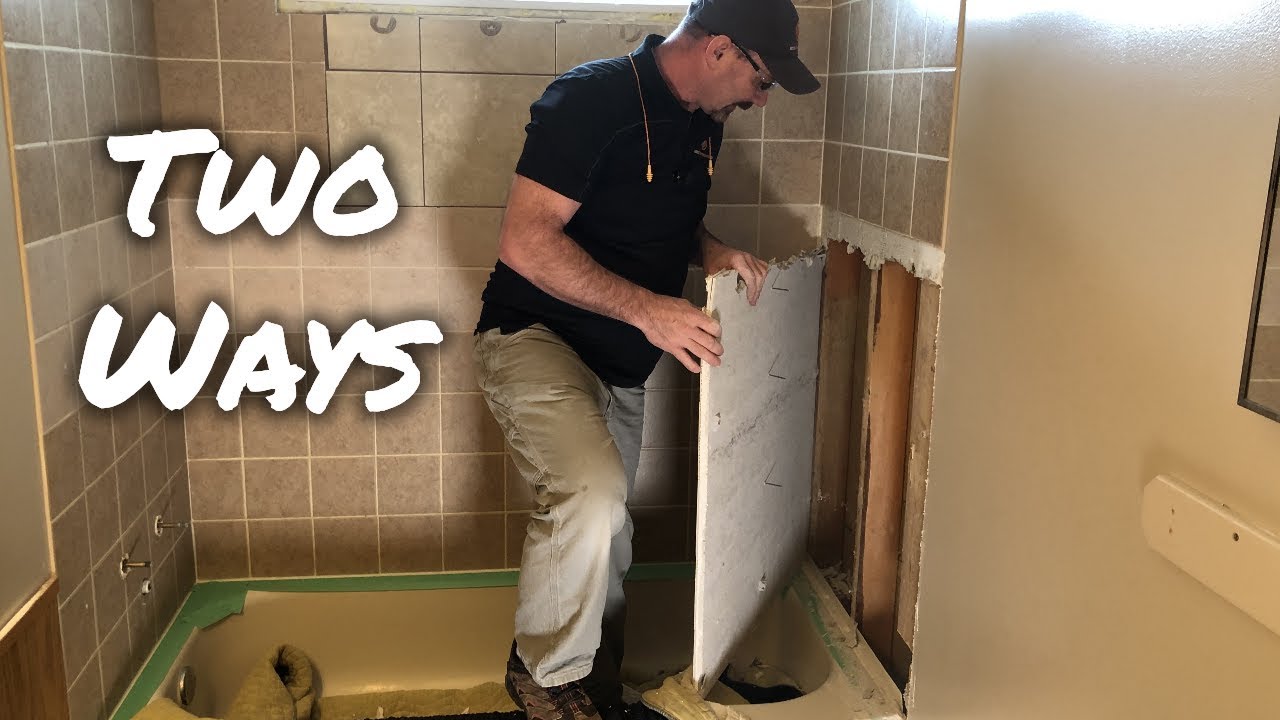
How To Remove Bathtub Shower Wall Tiles Youtube

How To Remove Tile Flooring Yourself With Tips And Tricks Tile Removal Ceramic Floor Tile Flooring
How To Remove And Replace A Broken Tile Ideas Advice Diy At B Q
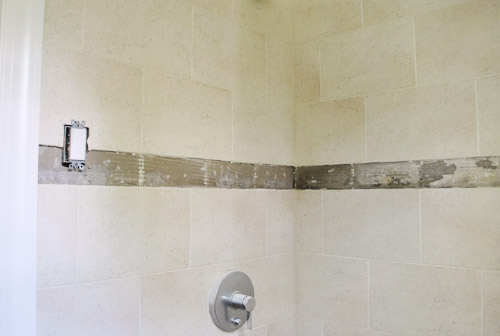
Removing An Old Shower Tile Border Young House Love

How To Remove A Kitchen Tile Backsplash
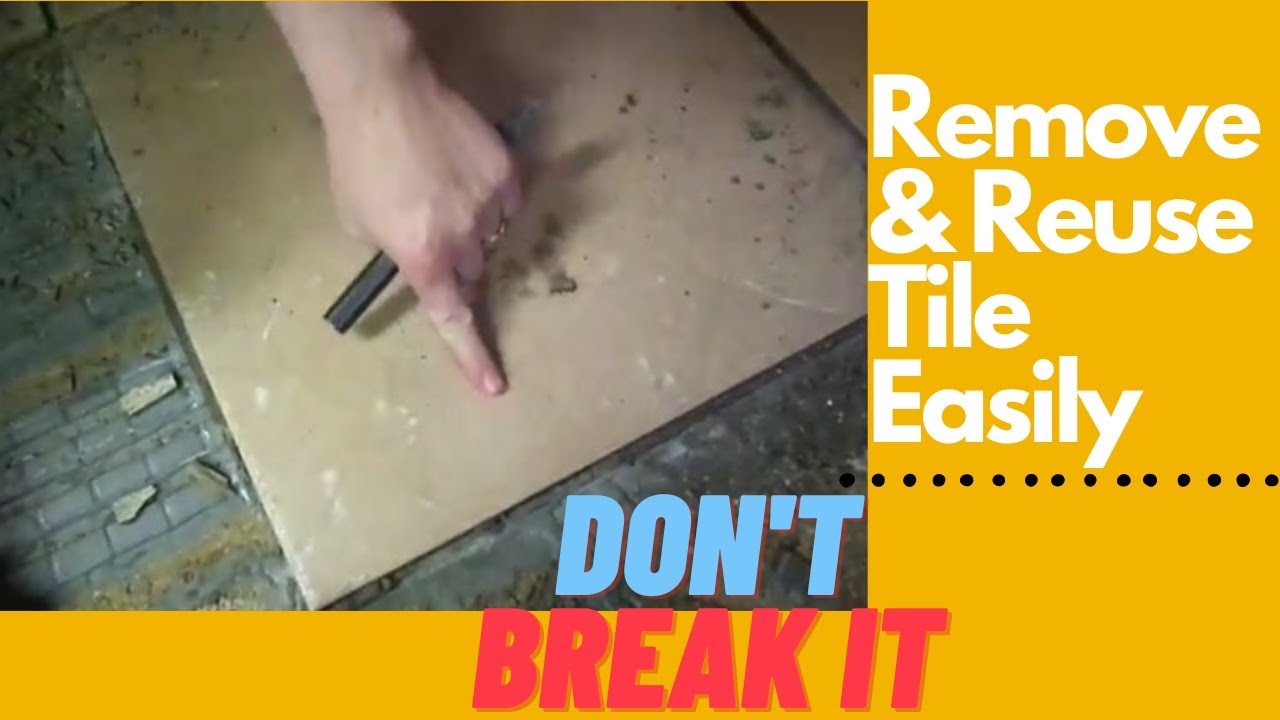
How To Remove Tile Without Breaking It Youtube

How To Remove Wall Tiles Youtube

Easy Ways To Replace Bathroom Tiles With Pictures Wikihow

Pin By Patricia Lange On Kitchen Tile Removal Wall Tile Adhesive Adhesive Tiles

Tile Removal Kitchen Backsplash Part 1 Making Manzanita Tile Removal Easy Diy Projects Diy Exterior

The Best Way To Remove Ceramic Tile Baseboard Home Guides Sf Gate
How To Remove Wall Tiles Remove Wall Tiles Without Damaging The Wall
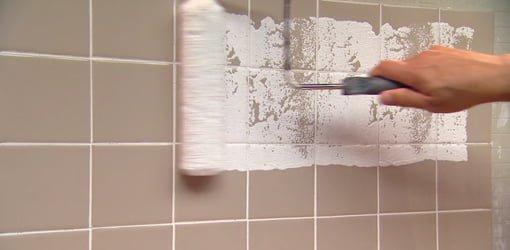
How To Paint Over Ceramic Tile In A Bathroom Today S Homeowner

How To Repair A Bathroom Wall After Removing Tile Ehow Uk Tile Removal Bathroom Repair My Home Design

Reasons For Cracked Floor And Wall Tile Tile Floor Flooring Ceramic Floor Tiles
Https Encrypted Tbn0 Gstatic Com Images Q Tbn 3aand9gcqnbypx44cxpn4 2dftnf8jb2s4q5kychkec K8ii7eflj1buel Usqp Cau

Removing An Old Shower Tile Border Young House Love Shower Tile Tile Removal Shower Accent Tile

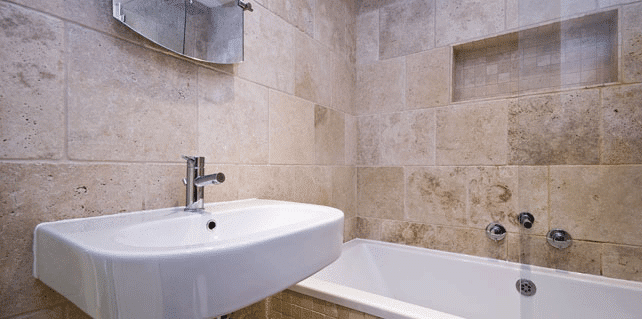
Tile Around Bathtub Ideas Bathroom Tiled Tub Wall Full Tile Around Bathtub Bathroom Wall Tile Bathtub Ideas Bathroom

How To Remove Tiles Easily And Effectively In 7 Simple Steps Bidvine

Removing The Side Splash Backsplash From Our Bathroom Sink Young House Love Diy Backsplash Tile Removal Vanity Backsplash

How To Remove Tile From A Wall Youtube

How To Fix Tile Remove Repair And Replace Cracked Loose Or Chipped Tile To Floor Or Walls Diy Youtube Tile Tile Repair Bathroom Floors Diy Tile Floor Diy

Quickest Way To Remove Wall Tile Home Guides Sf Gate

How Can I Remove The Tile From This Wall Tile Removal Tile Bathroom Diy Wall Tile
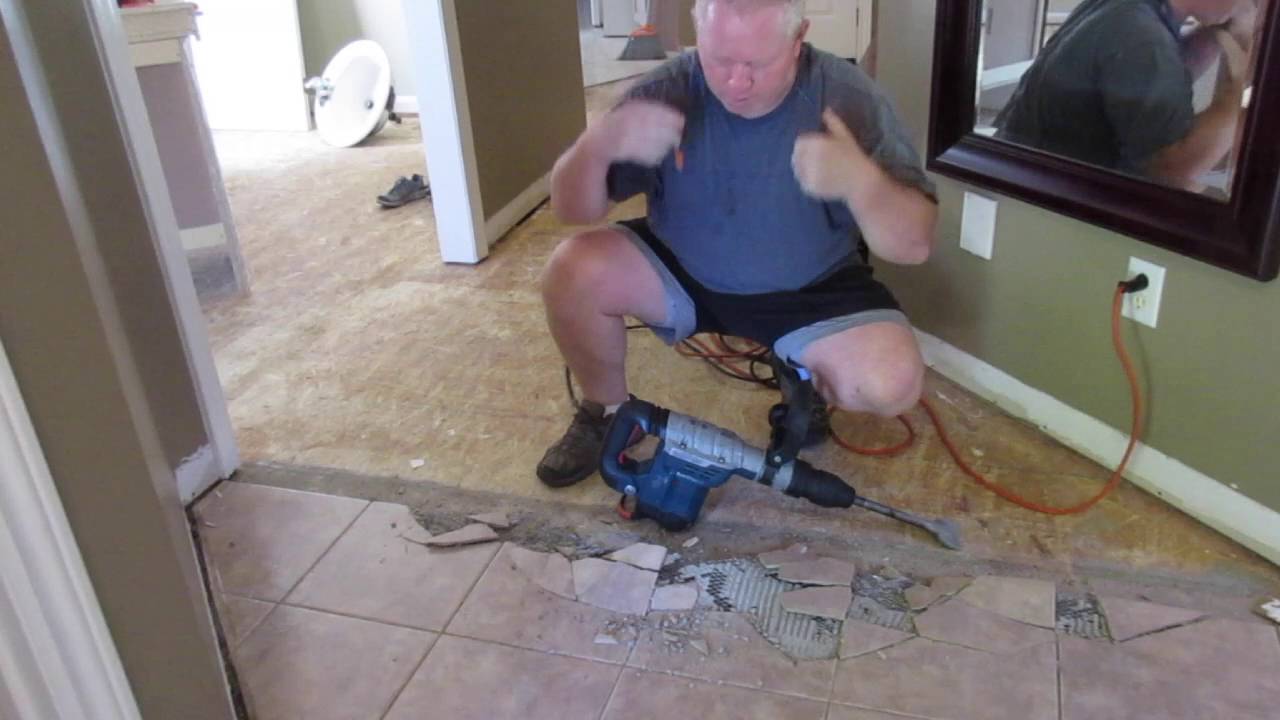
Removing Ceramic Tiles The Easy Way Using Demolition Hammer Youtube

Renovating 101 Removing Tile From Concrete Removing Floor Tiles Tile Removal Concrete Floors

13 Different Types Of Tile Removal Tools

How To Cover Up Old Tile A Bathroom Easy Kitchen Backsplash Kitchen Backsplash Tile Covers

How To Remove Tile From A Kitchen Wall Whether You Want To Remove A Single Damaged Tile Or Tear All Existing Til Tile Removal Kitchen Wall Tiles Kitchen Wall

Tile Backsplash Removal Without Drywall Damage Youtube Tile Backsplash Diy Backsplash Backsplash

Just A Touch Of Gray Master Bathroom Magazine Feature Beadboard Bathroom White Beadboard Bathrooms Remodel

How To Cover Wall Tile Without Removing Them In Bathrooms Showers Kitchens And More

Graphic Tile Peel And Stick Wallpaper By Seabrook Lelands Wallpaper In 2020 Graphic Tiles Peel And Stick Wallpaper Stick On Tiles

How To Tile Over Existing Wall Tile Home Improvement Projects Diy Home Improvement Home Improvement

Update Your Kitchen With A New Backsplash Mosaic Tile Sheets Backsplash Install Backsplash

Removing Single Swisstrax Tiles Tiles Home Upgrades How To Remove

Interlocking And Modular Floor Tiles Are Easy To Install And Can Be Remove If Needed I Installing Tile Floor Basement Flooring Options Interlocking Floor Mats

Damaged Grout How To Repair And When To Re Grout Builddirectlearning Center

Pin On Diy Home Improvement Projects

How To Remove Builder Mirrors Sawdust Girl Large Bathroom Mirrors Cleaning Painted Walls House Cleaning Tips
1
Source : pinterest.com
